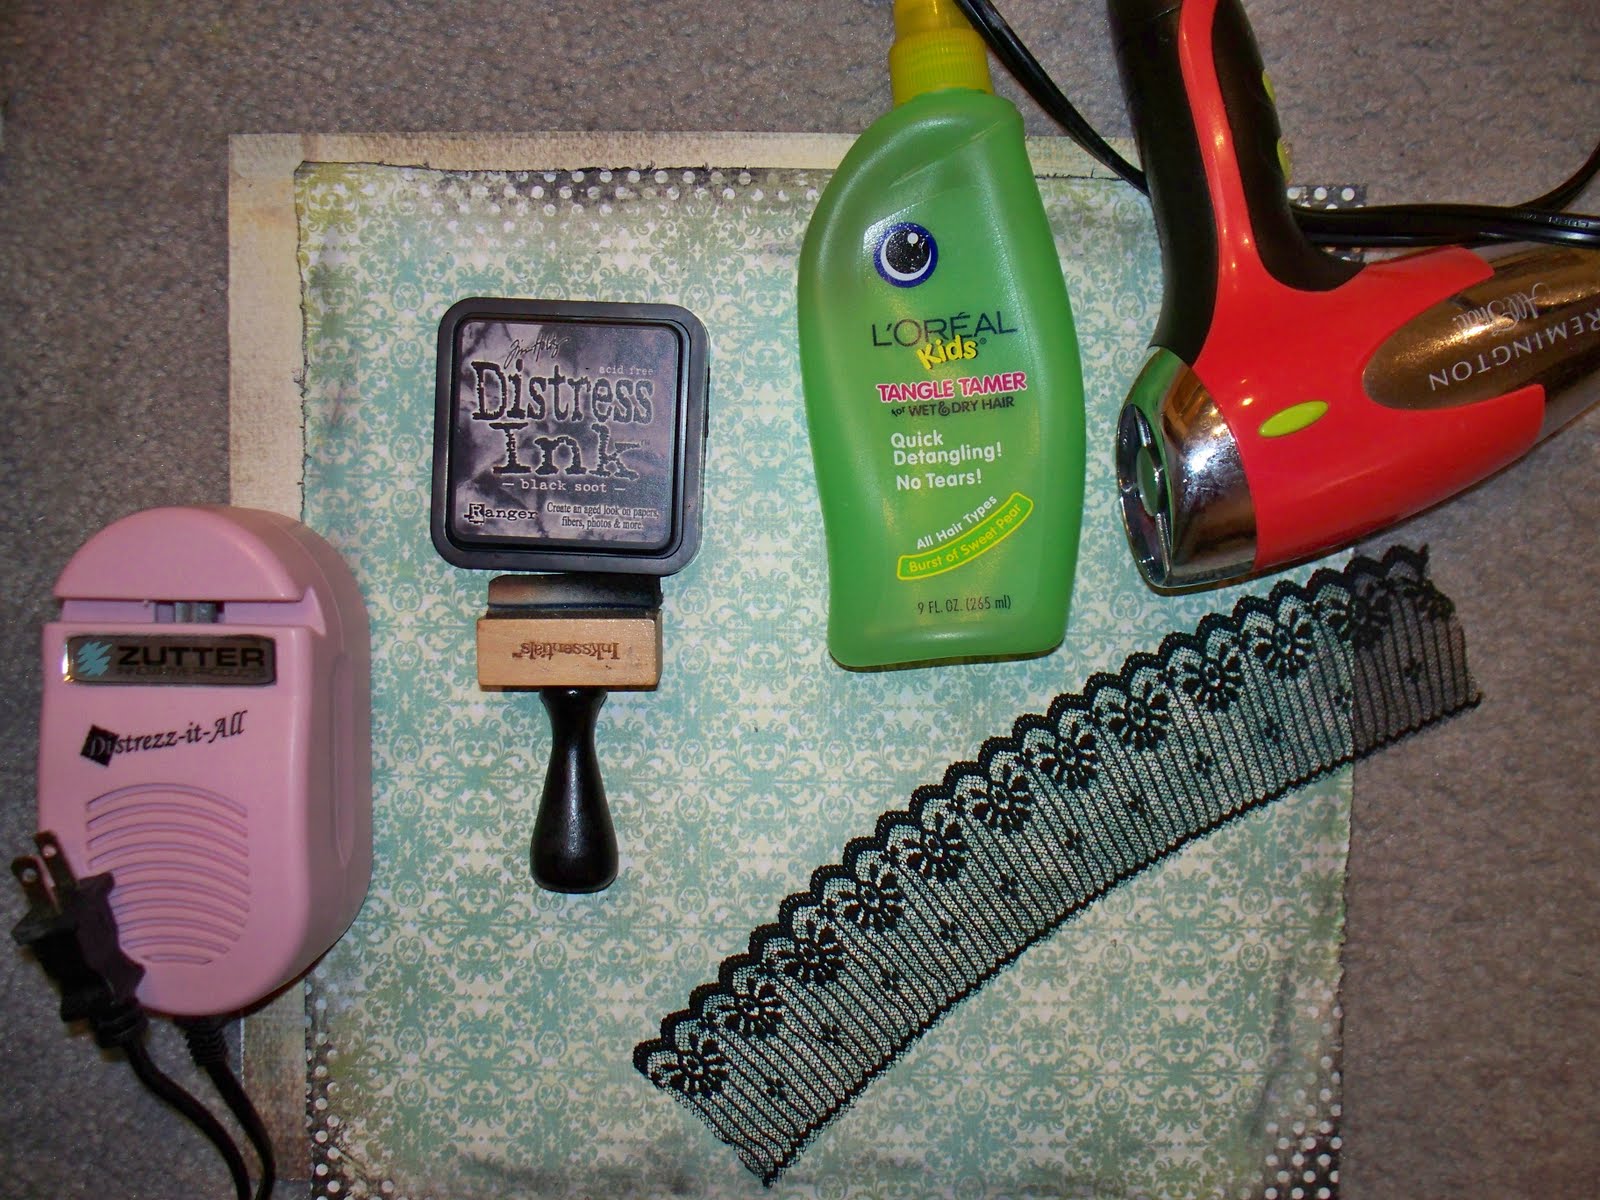
Supplies needed:
1. distressing tool (optional)
2. ink with blender (optional)
3. spray bottle with water
4. heating tool (optional)
5. lace (optional)
6. double sided paper for the top (preferred)
7. paper for the bottom
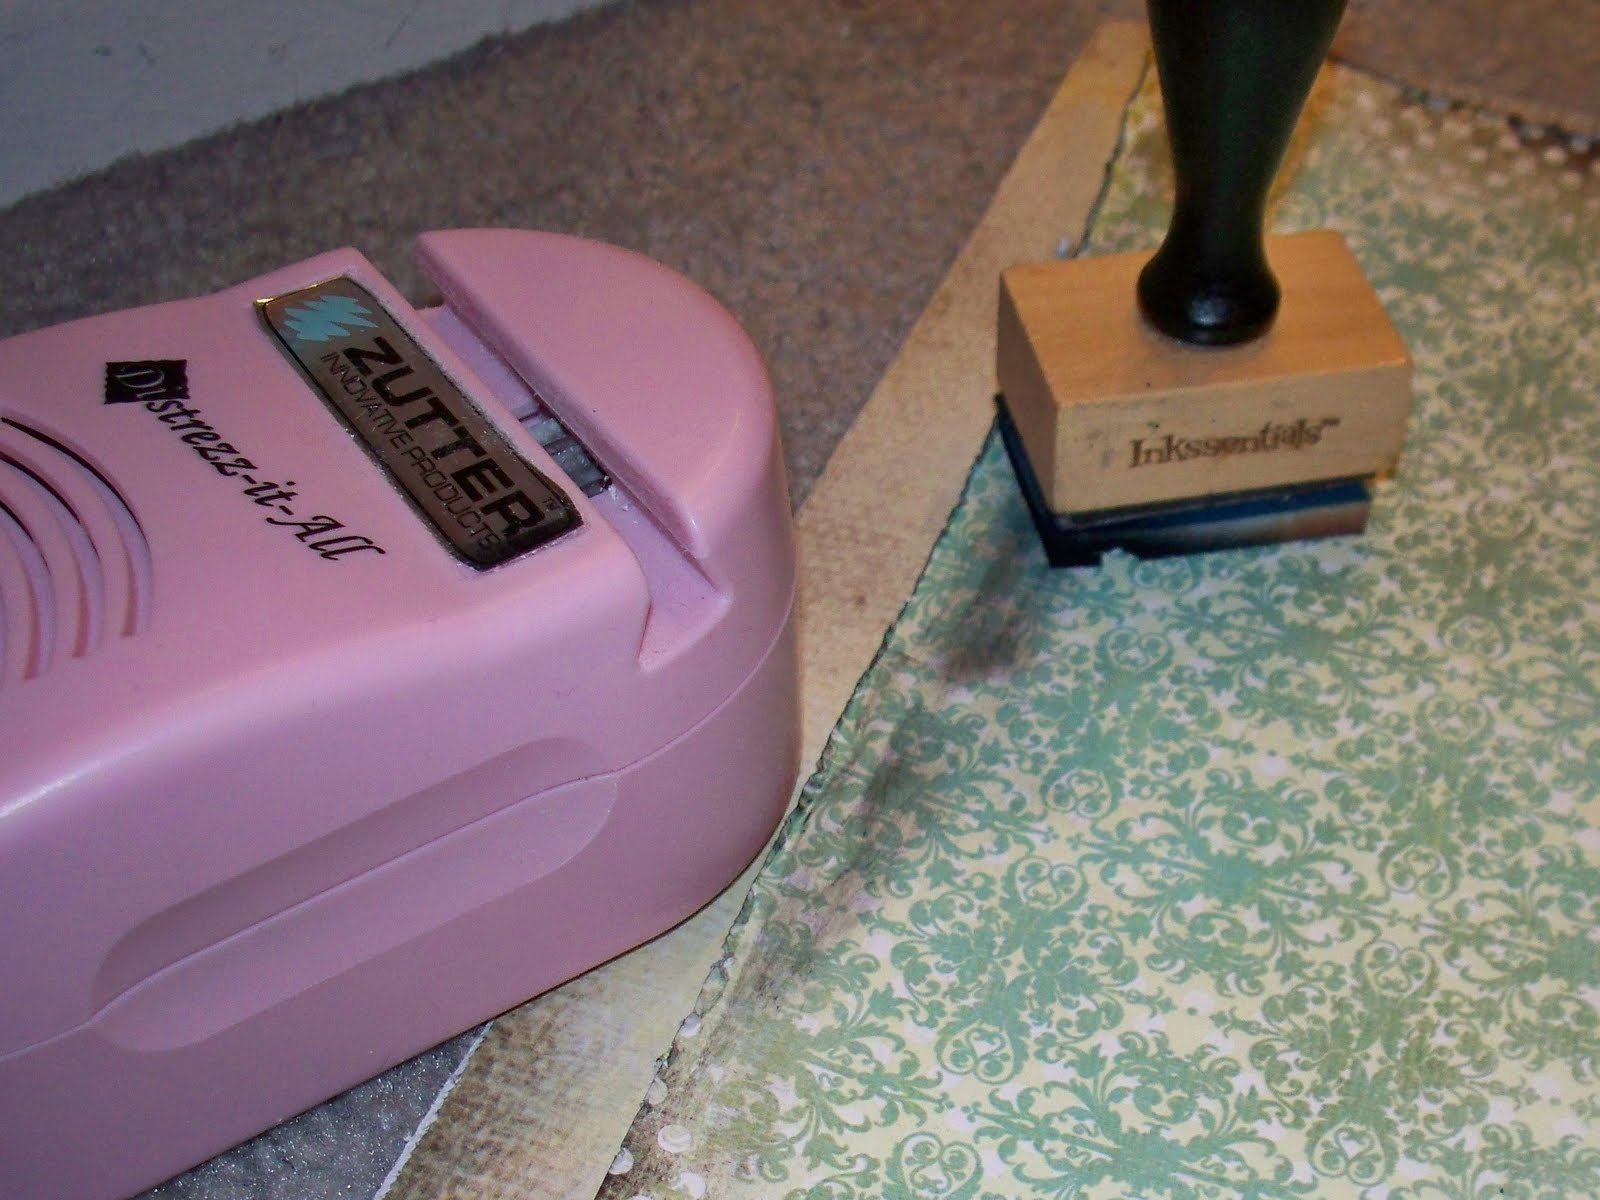
Ink and distress the edges (optional).

Use your spray bottle to spritz around all the edges of the paper you are going to scrunch. Use your finger to blend and spread the water and let the ink run wild.

Going back to the first edge of where you spritzed, use a pinching motion to scrunch the paper. Depending on how much scrunching you want, move your pinching around like a zig zag motion, you may add more water if you need to for the effect you want.

Here I am bending back a fold that was slightly torn. I like to show off both sides of double sided paper.

I use a low heat setting so my paper won't fly away, to dry around the edges and it makes the paper stiff. Air drying works too, but takes longer.

I use my blender to apply more ink to all the creases made from scrunching.
(optional)

I cut up pieces of lace to place behind the more scrunched up areas for a nice effect (optional). Then glued it all down.


 [/url]


WOW - thank you so much for this tip! I am definitely goin to try this!
ReplyDeleteThis tutorial is great! love how you spray some watter to condition the papers! the edges look fab! going to try this in one of my future pages! :)
ReplyDeleteWOW!!! Great tutorial!!!!! If I ever go back to 12x12 pages!! lol
ReplyDeletethis is such a fabulous tutorial...here i thought the distressing tool was what got all those scrunches in there!! you rock Cheryl!
ReplyDeleteThanks Cheryl, gonna be trying these out!
ReplyDelete